A media company, YPulse, did a social media behavior survey on Gen Z and Millenials and made the following discoveries:
- 75% of folks, aged between 13 to 36 years, share memes on social media.
- 74% of meme lovers share memes to make people, while 53% do so to react to something.
That said, memes have come to stay. They have evolved throughout the years, from basic images and meme generators to high-quality videos and GIFs!
In this guide, we will show you how you can make a video meme using a simple video editor.
Let’s dive into it!
Contents
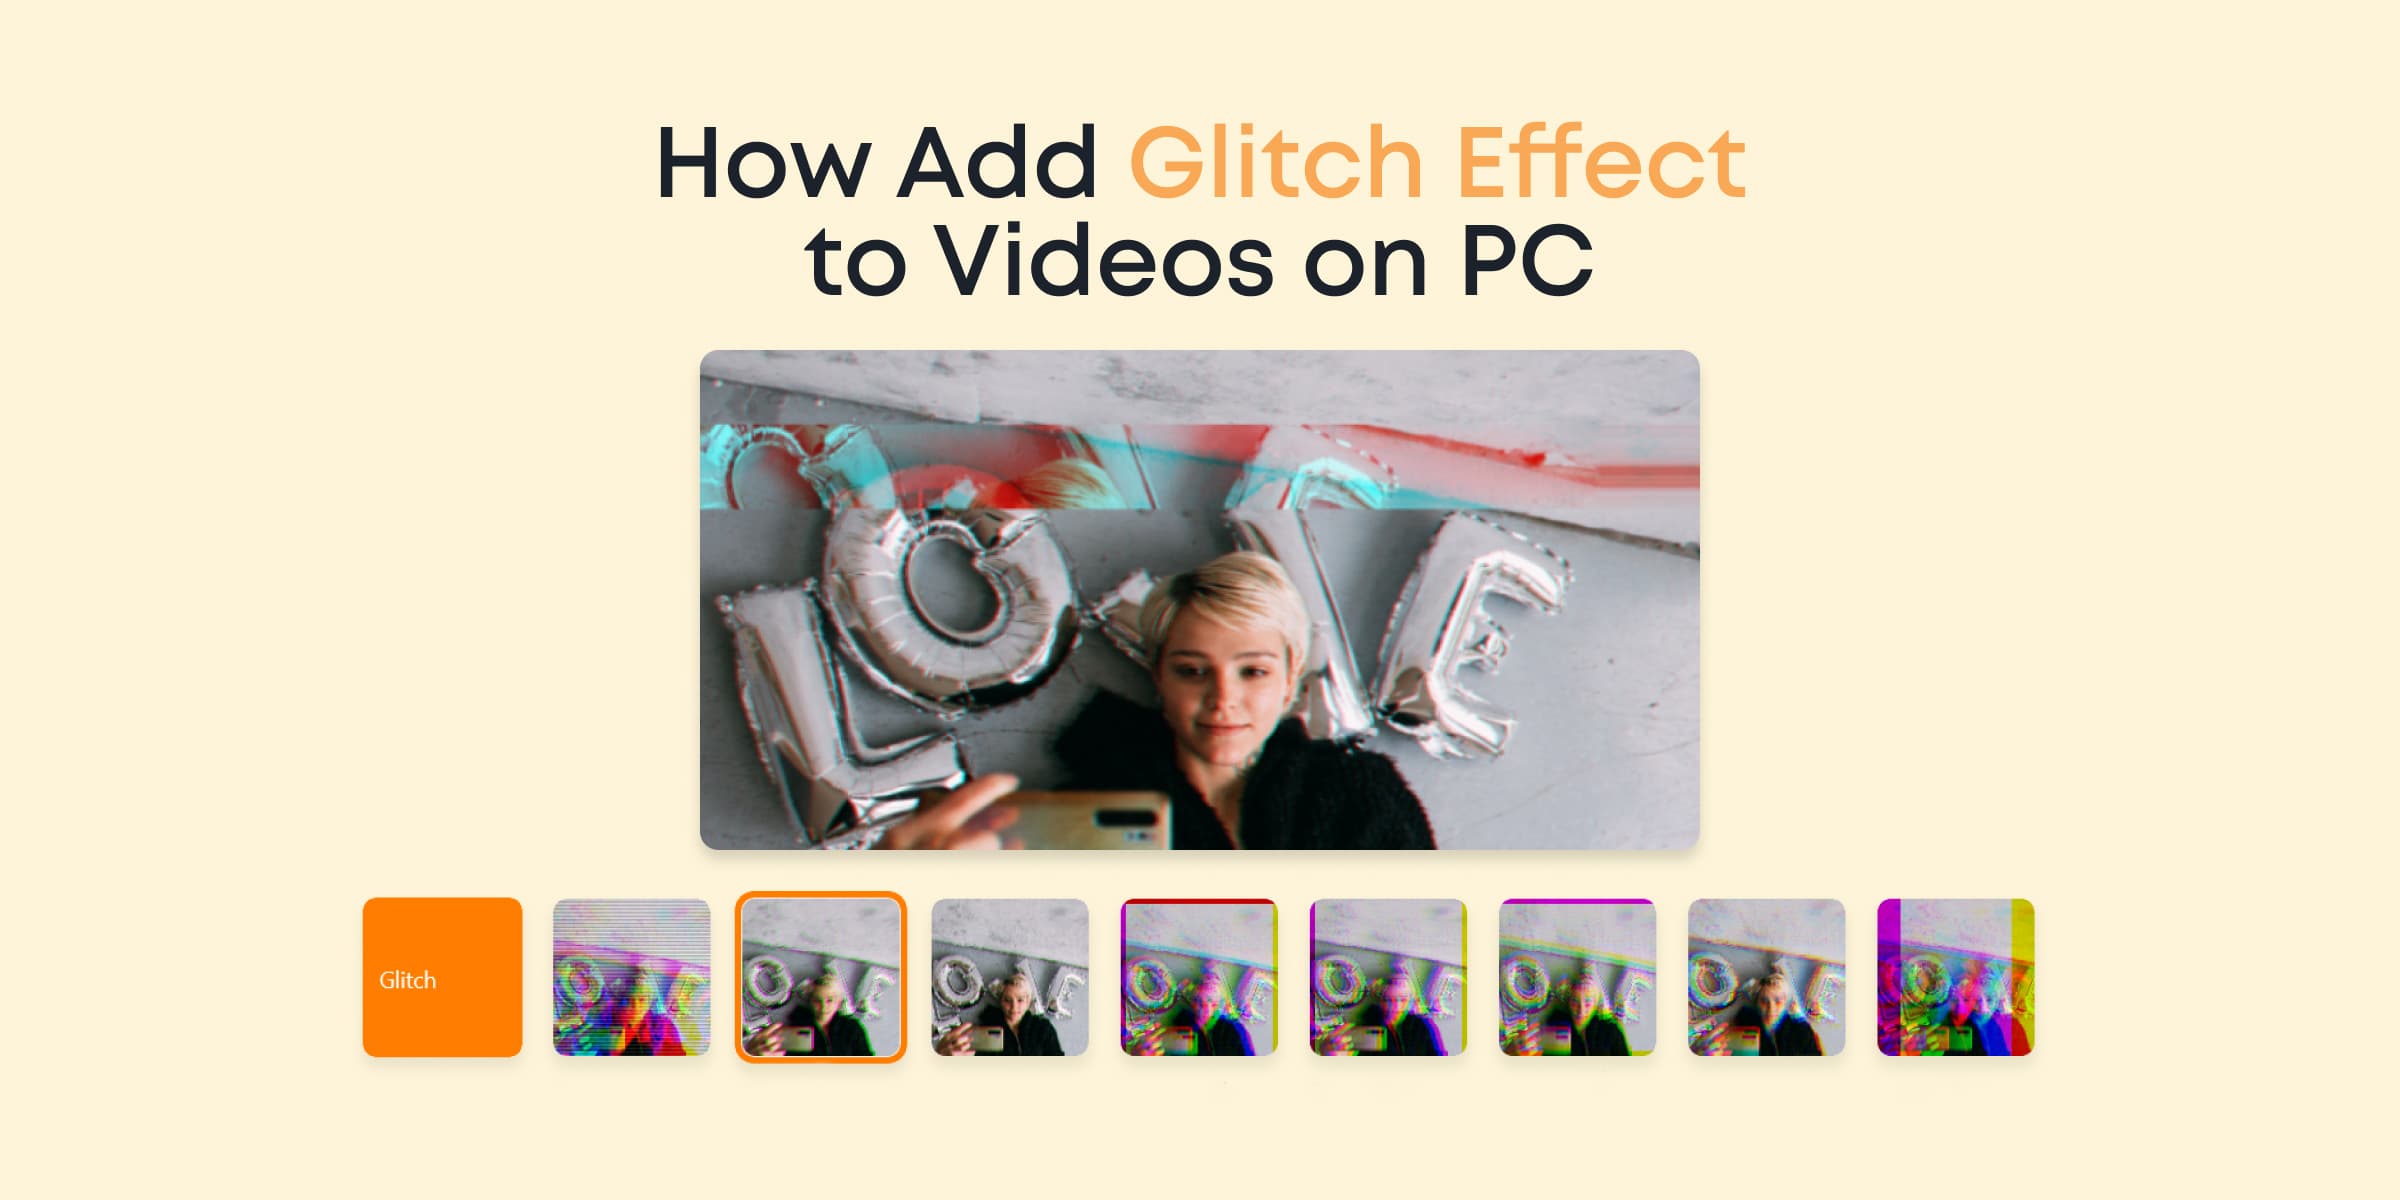
How to Make a Video Meme Using Animotica
As already established, you do not need complicated software to make video memes. A basic application is enough to get your first viral meme off the ground.
That said, we highly recommend Animotica. Animotica is simple enough for basic tasks like this and rich enough for more sophisticated video projects!
With over 5 million users worldwide, the video editing software ranks among the best video editors on Microsoft Store. Hit the button below to install and get started.

Done that? Good! Now, let’s move to the steps!
Step 1: Launch Animotica and Create a New Project
Double-tap on the app’s icon to launch it. Once you get to the home screen, select New Project.

This will take you to the project window, where you can begin the fun stuff.
Step 2: Upload a Background
To make a standard meme video, you’ll need a background for your video and text. You can use any color, but it’s common to use black or white.
For this guide, we will use a white background.
To begin, hit on Add Video/Photo Clips and select Color Clip & Background Color.

Next, hit on the color clip’s thumbnail to reveal the color palette. Let’s choose white.

Step 3: Upload your Video Clip
Now, we will upload a video on top of our white background. To begin, hit Add, scroll down to the Overlays section, and select Video or Photo.

You can now navigate your PC’s storage to find and upload your video clip.
Pro Tip: You can also use a GIF as a replacement for video clips. You can get a ton of free GIFs from GIPHY. Just select GIPHY from the options and type your keyword in the search bar.

Step 4: Arrange your Video to Fit Perfectly
Now, you’ll need to adjust the size and position of the video clip. You can adjust the size of the clip by dragging one of the knobs as shown below.

To adjust the position of the overlay, simply drag the video to any point you like.
Note: if you’re using a video clip (as opposed to a GIF), you ought to make sure the overlaid clip is not longer than the background color clip.
For example, our color clip (white background) has a duration of 4 seconds. So we need to make sure our overlaid clip is not longer than 4 seconds, otherwise, some part of the overlay will disappear.
You can balance this by adjusting the duration of the color clip to match the length of your overlay.

Alternatively, you can simply trim the overlaid video to match the color clip’s duration. Just tap on the overlay bar (the green bar) and select Trim to begin.

Step 5: Add Your Text
Having added your clip, you now have to add a text to explain the meme. Simply select Add and click on Text.

Alternatively, you can just hit T to quickly open your text window.
Next, type your captions and hit X.
Step 6: Adjust the Text
Depending on the length of your text, you might want to adjust the size of the text overlay to fit into the space. Just drag the knob as already explained in step 4.

Next, drag the text box to the top corner as shown below.

Now let’s make the text more visible by turning it to black! Hit on Font and select Font Color.

Next, let’s make the text bold. Tap on Arial and from the side menu, select Bold.

You might also want to get rid of the shadow. To do this, select Shadow and turn the switch off.

Feel free to repeat step 5 to add a second text which will be positioned at the foot of the clip as shown below.

Step 7: Export Your Video
Having done all the necessary stuff, you can go on and export the video. To begin, hit on Export Video or click CTRL+E.

You will be taken to the export window. Select Save As, on the next window, input your filename and then select Save.
That’s all! You can now take a breather. Animotica will handle the rest!


![How to Create a Udemy Course in 2024 [An Ultimate Guide for Beginners]](/_next/image?url=https%3A%2F%2Fanimotica-blog.azurewebsites.net%2Fwp-content%2Fuploads%2F2020%2F05%2Fhow-to-create-a-udemy-course-in-2023.png&w=3840&q=75)