Creating videos? Don’t know how to safeguard your work? No sweat! This guide is here to ease your mind. We’ll show you, in simple words, how to add a watermark to your videos on PC using Animotica. This guide isn’t limited to any expertise level – everyone’s included!
We’ll unravel the ‘why,’ the ‘how,’ and the ‘where’ of watermarking. By helping you add a watermark that blends with your video’s aesthetic, we aim to assist you in maintaining your brand’s exclusivity. In addition, we provide screenshots to guide you and highlight the benefits of Animotica.
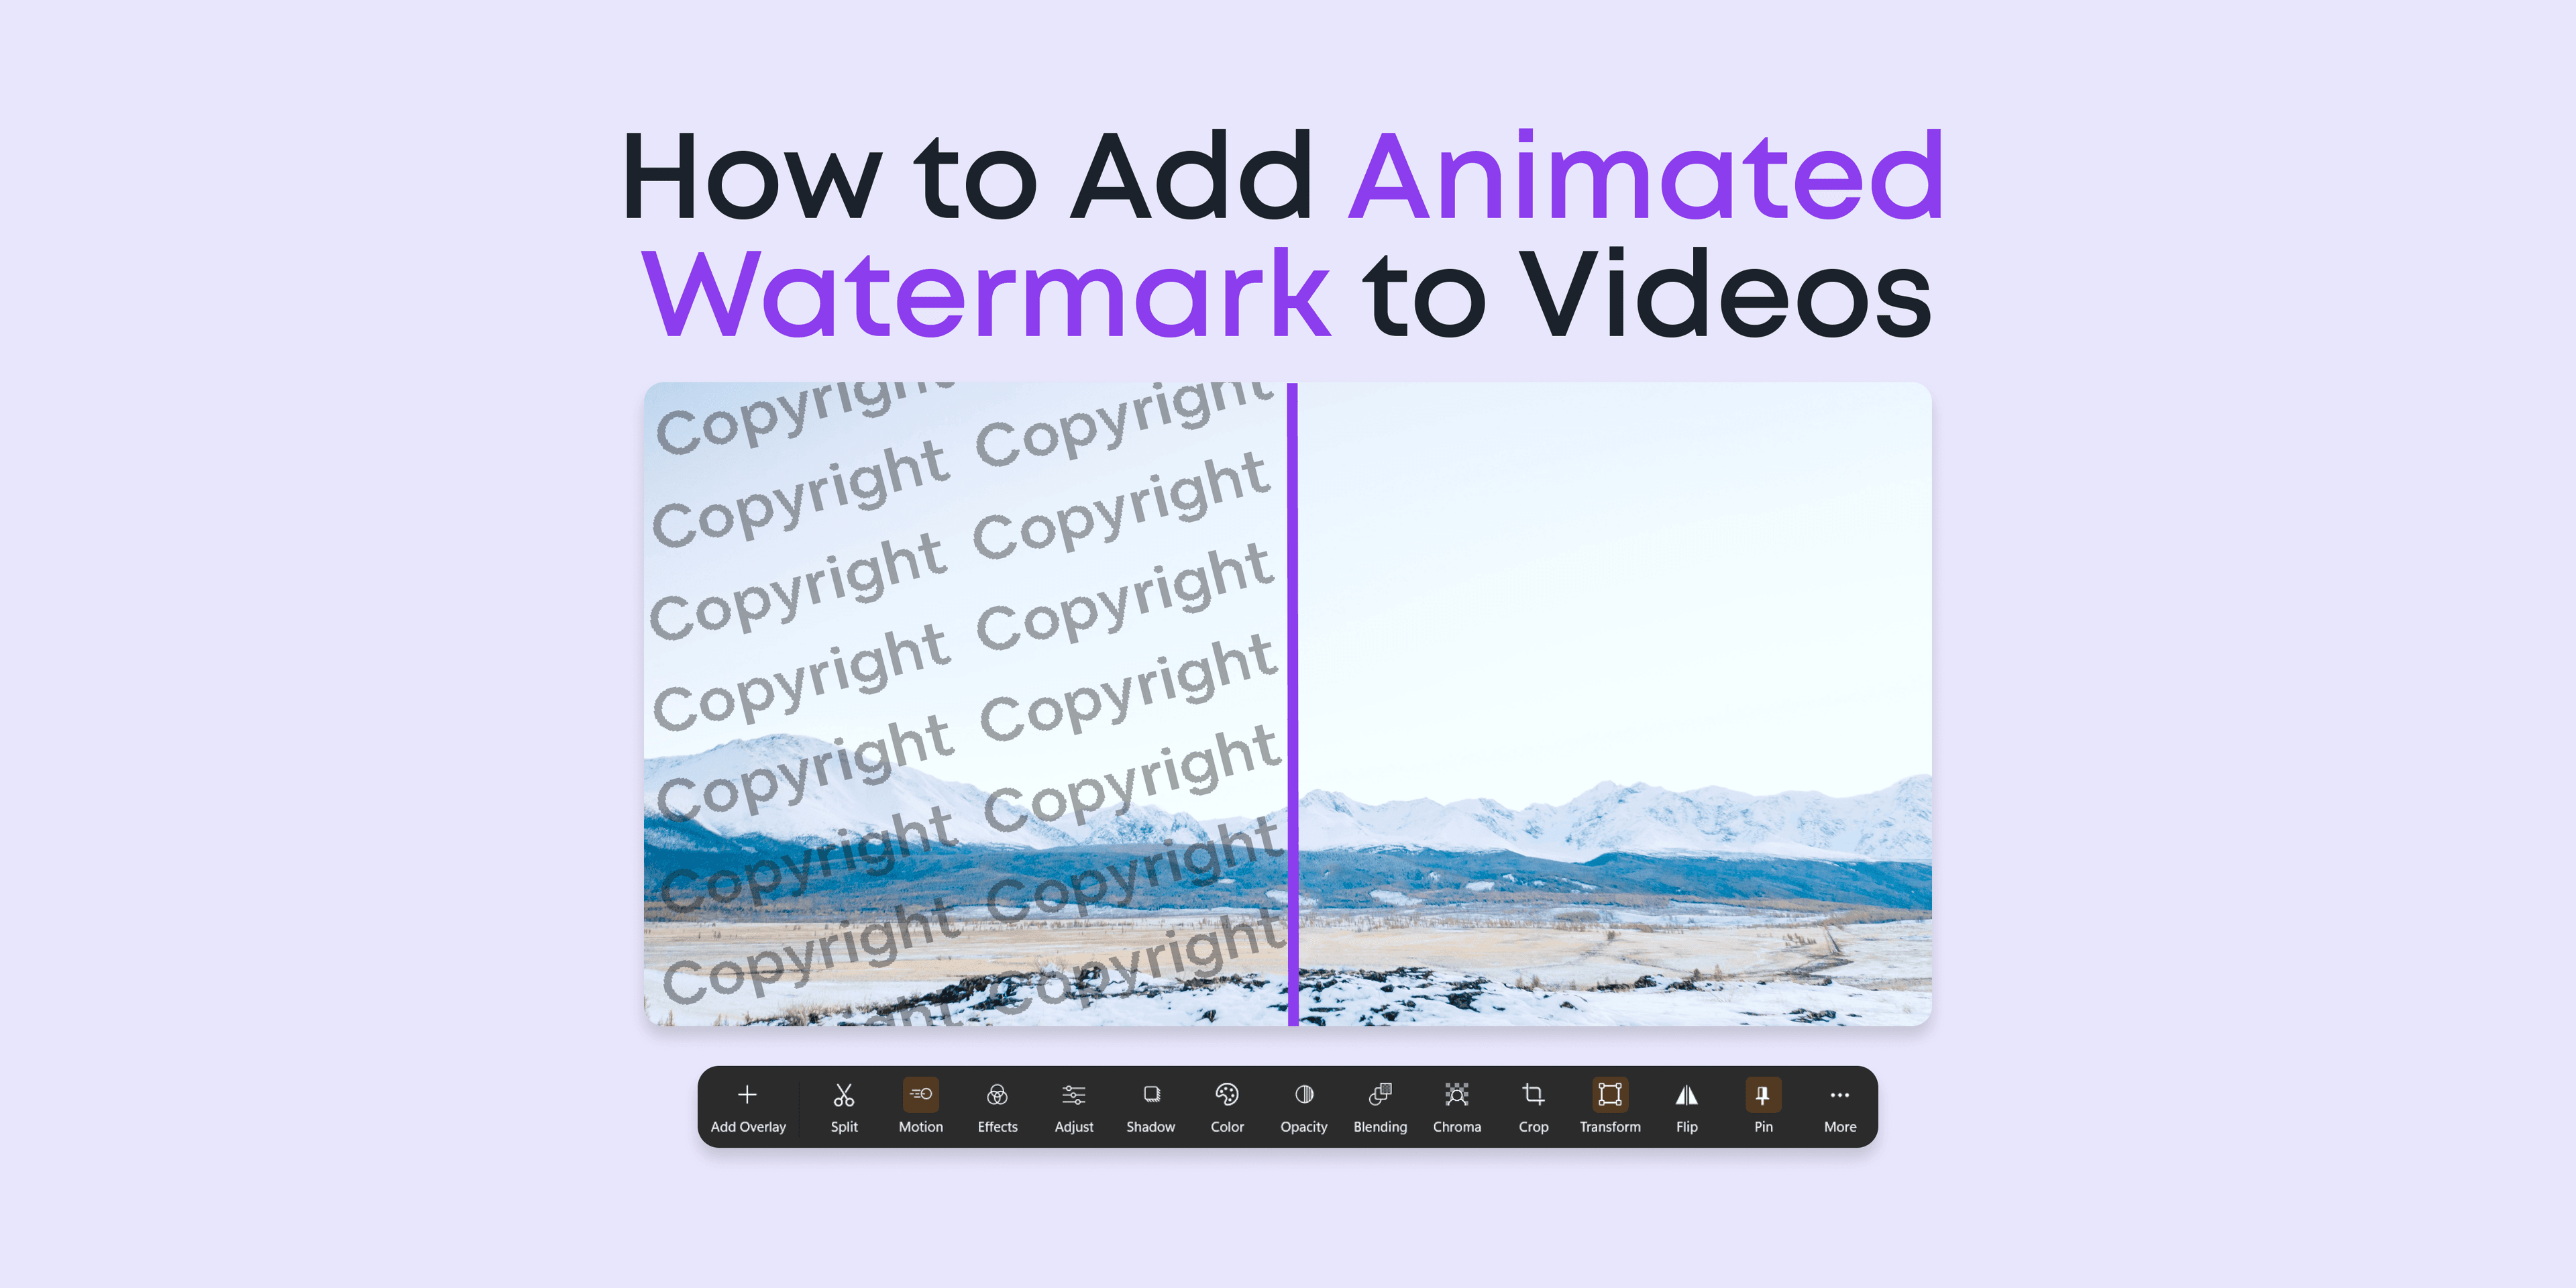
Before we delve further into our guide, let’s take a quick sneak peek at some of the watermarking magic you can perform using Animotica! Trust us, you won’t want to miss this!
So, let’s dive right in!
Contents
Why Do You Need to Watermark Your Videos?
Diving into the realm of digital content creation involves not just showcasing your creativity but also ensuring its protection. This is where the importance of watermarks comes into play. But why exactly do you need to watermark your videos? Let’s break it down:
- Visibility and Protection: Simply put, watermarks serve as your digital signature. They’re a clear identifier of your original work, creating an undeniable link between you and your creation.
- Branding: Whether you’re a solo creator, business, or artist, strategically placed watermarks can reinforce your brand. After all, every view of your watermarked video subtly exposes your viewer to your watermark or name, aiding brand recognition.
- Deterrence Against Piracy: Watermarks aren’t just about establishing identity – they are also a crucial deterrent against video piracy. They discourage content theft and help trace unauthorized use.
- Professionalism and Credibility: A well-designed, tastefully placed watermark adds a dash of professionalism to your content, which can attract more viewers and potential collaborators.
- Guidepost for Viewers: If someone stumbles upon your watermarked video on a different platform, they can trace it back to you. This can lead to more profile visits and, subsequently, more followers.
Given the multiple benefits that watermarking offers – from aiding brand recognition and ensuring content security to enhancing the user experience – it’s a strategy no creator can afford to overlook. So, let’s get started on how you can add your watermark to your videos using Animotica and other software solutions.
What is the Best Software for Adding Watermarks to videos on a Windows PC?
To add a watermark to your videos on PC with excellent results, a standout choice is Animotica. As a one-stop platform for all your video editing needs, this tool offers an intuitive and accessible way to insert watermarks seamlessly – a perfect fit for your needs whether you’re a novice or an experienced video creator.

How to Watermark Your Videos on PC in 8 Easy Steps
Looking to give your videos a layer of professional protection with watermarks? Don’t worry! We’ve got a simple guide that makes watermarking on your PC easy as pie. No matter if you’re a hobbyist videographer or a seasoned content creator, this comprehensive step-by-step guide will help you easily design and add watermarks that clearly show ownership. So, let’s get started!
Step 1: Make Your Watermark
If you’re thinking about adding a watermark to your videos with Animotica, you’ll first need to create it. You can use fun and easy-to-use design tools like Adobe Photoshop, Canva, or Figma to make your watermark. Whether it’s a logo, text, or graphic, you can fully customize it to fit your style and brand. You can play around with the design, color, rotation, and even the transparency.

Pro Tip: Try to create a black-and-white or transparent watermark (save it as a PNG file). This way, it will work well with different blending effects.
Remember, your watermark is like a signature for your videos. It puts a stamp on your content and shows everyone that it’s yours. So, make sure it really captures your brand’s personality.
Step 2: Start Animotica and Create a New Project
When you open Animotica, you’ll notice its simplicity and ease of navigation. Start by clicking on the New Project button in the middle of the main screen. This gives you a blank project to work on and show your creativity.

Step 3: Upload Your Video Clips
Starting a new project in Animotica is the first step towards creating engaging videos. Once a new project is initiated, you can easily add your video clips using the uncomplicated features of Animotica’s user-friendly interface.

- Click on the ‘Add Video/Photo Clip’ button located below your project window. This action displays a dialog box.
- Locate your video clips on your PC. You can select multiple clips by pressing the Control key (Ctrl) while clicking on each file.
- After selecting your clips, click the ‘Open’ button. Your chosen clips will now appear on your project timeline, ready for editing.
Think of your timeline as a stage where all your clips unite, sequences are adjusted, and unique elements like watermarks are added.
Pro Tip: To simplify your editing process, group all your video clips in a specific folder before starting your project. This step can help you save time when finding and importing your clips into the editing software.
Now that you have added your video clips to Animotica, it’s time to add that all-important watermark. So, let’s get started!
Step 4: Add a Watermark
If you’re working with Animotica video editor and want to add a custom watermark to your clips, you’re in luck. Animotica makes it easy to put a watermark right on your video. Here’s how you do it:
- Once you’re in the editing view, look on the right. There’s an ‘Add‘ button. Click on it and then choose ‘Video or photo‘ from the Layers & Overlays section.

- You’ll see several options. Click on ‘Photo’ to select an image from your computer.
- Find your watermark file, select it, and hit ‘Open.’

And that’s it! Your watermark now overlays your video. For a more professional look, you might want to adjust the watermark’s position, size, and transparency. With Animotica’s easy-to-use tools, you’ll create the perfect video watermark on your PC in no time.
Step 4: Adjust the Size and Placement
Adding your watermark to your video is a breeze with Animotica! Here’s how to adjust it to your liking:
- Size: Adjusting the size of your watermark is easy. Just click on your watermark in the video preview, and a resizable frame will appear. Pull the edges until you’re happy with its size.
- Positioning: Play around with where you place your watermark. It can make a big difference to your content. Move it around the video preview until you find the perfect spot.

Next, we’re going beyond just adding a watermark. We’re going to explore blending modes. Even though they might sound complicated, blending modes are very useful when you’re watermarking.
Step 6: Apply Blending Modes
Now that your watermark is in place, you’re going to want to polish up its appearance a bit. This is where blending modes come into play.
- Click on your watermark to select it and look for the option that says ‘Blending‘.

- Choose and play around with the different blend modes available. ‘Screen’ mode typically works well for most watermarks. Consider setting the opacity level to about 65% – but feel free to set it to your liking. These changes will allow your watermark to blend into your video smoothly, providing a professional appearance.

You can use blend modes to creatively customize how the colors in your watermark mix with the ones in your video. Want to understand more about using blend modes during video editing? Take a look at our comprehensive guide on ‘How to Edit Videos with Blend Modes on PC‘.
Step 7: Add Watermark Animation
The world of content creation moves quickly, and using the animation feature for your watermark can help your video pop. Here’s a simple way to create an animated watermark with Animotica:
- Choose your watermark and select the ‘Effect‘ tab.

- Choose a shake effect like ‘Quake’ or ‘Camera’ from the options available. Don’t hesitate to try different options to see what works best for your video!

Step 6: Export Your Video
Once you’ve used Animotica’s tool to create your watermark and your video is ready, don’t forget to save it. Here’s how:
- Click ‘Export Video’ at the bottom right of your screen. You’ll see several options.

- Choose the format and quality that you need. Animotica offers many choices, including HD and full HD, and it works with common formats like .mp4. Pick the best one for you.
- Press ‘Save As’ and decide where to save your file.

After these steps, Animotica will export your video with your new watermark overlay. Depending on the video’s size and quality, it might take a little while. But your final video will look professional with your brand on it.
Keep in mind that the format and quality you choose affect your final video. Make sure your selection matches your goals. If you want high-quality YouTube videos, pick the highest resolution. If you have limited storage or slow internet, maybe choose a lower-quality video.
Now that your watermark is ready, you’ll want the best quality for your final video. Check out our guide on the best export settings for YouTube. It will help you adjust your settings so that your video looks great on YouTube, no matter the device your viewers use.
5 Tips for Designing Effective Watermarks for Videos
Creating an effective watermark takes some effort and creativity. Following these seven tips will ensure that your watermark is not only functional but also enhances the look of your content without detracting from your creation.
Tip 1: Choose an Appropriate Design
Ensure your watermark effect succeeds in identifying the content and discouraging unauthorized use. It can be a logo, text, or graphic that points out ownership. But be careful – it should never overwhelm the actual video content.
Tip 2: Opt for Semi-Transparency
Semi-transparent watermarks offer the perfect balance of visibility and subtlety. They let viewers know who owns the content while keeping the focus on the video itself. This ensures you hit the sweet spot between proving ownership and maintaining aesthetics.
Tip 3: Maintain Consistency
Consistency is key in branding. If you regularly create and share videos, using a consistent watermark can bolster your brand recognition.
Tip 4: Consider the Size
While your watermark should be clearly visible, it shouldn’t be excessively large. An overly vast watermark might distract your viewers from the actual video content. Striking balance is essential here.
Tip 5: Always Remember the Purpose of Your Watermark
The main purpose of your watermark is to protect your videos, create brand awareness, and deter misuse. Make sure your watermark serves these purposes without hampering the viewer experience.
Final Thoughts
Watermarking isn’t just about copyright protection – it’s a valuable instrument in brand promotion too. Regardless of where you’re sharing your videos- be it on social media, personal blogs, or video-sharing platforms, a strategically placed watermark can give your video that unique edge.
With a user-friendly software tool like Animotica, watermarking is a breeze. Just follow our guide, and voila! Your videos are visibly personalized and secured. Plus, top it all off with our design tips for effective watermarks, and you’re in for video content that’s authentically yours.
Pro-tip: Customize watermarks based on your audience and platform trends to remain relevant and adaptive in the digital landscape. This agility is crucial in our fast-paced, ever-evolving world.
Watermarking is an enhancement, whether you’re a veteran or a novice video creator. We trust our guide has equipped you with the necessary knowledge and confidence to brand and protect your video content like a pro.
Now, it’s time to let your creative juices flow and start watermarking your videos today!