Welcome to this comprehensive tutorial on how to blend videos using Animotica. Blending videos can transform your creative projects, adding depth and visual interest to your montage, vlog, or presentation. This guide will lead you through the process, step-by-step, ensuring you have the skills to start blending videos in no time.
Whether you’re a professional filmmaker or a beginner dipping your toes into the world of video editing, this tutorial will be a valuable resource for mastering Animotica’s video blending feature.
From basic concepts to advanced tips, we’ll cover everything you need to know to achieve smooth and attractive blends in your videos. So, sit back, soak in the information, and let’s start this exciting journey into the world of video blending using Animotica!
Contents
What is Video Blending?
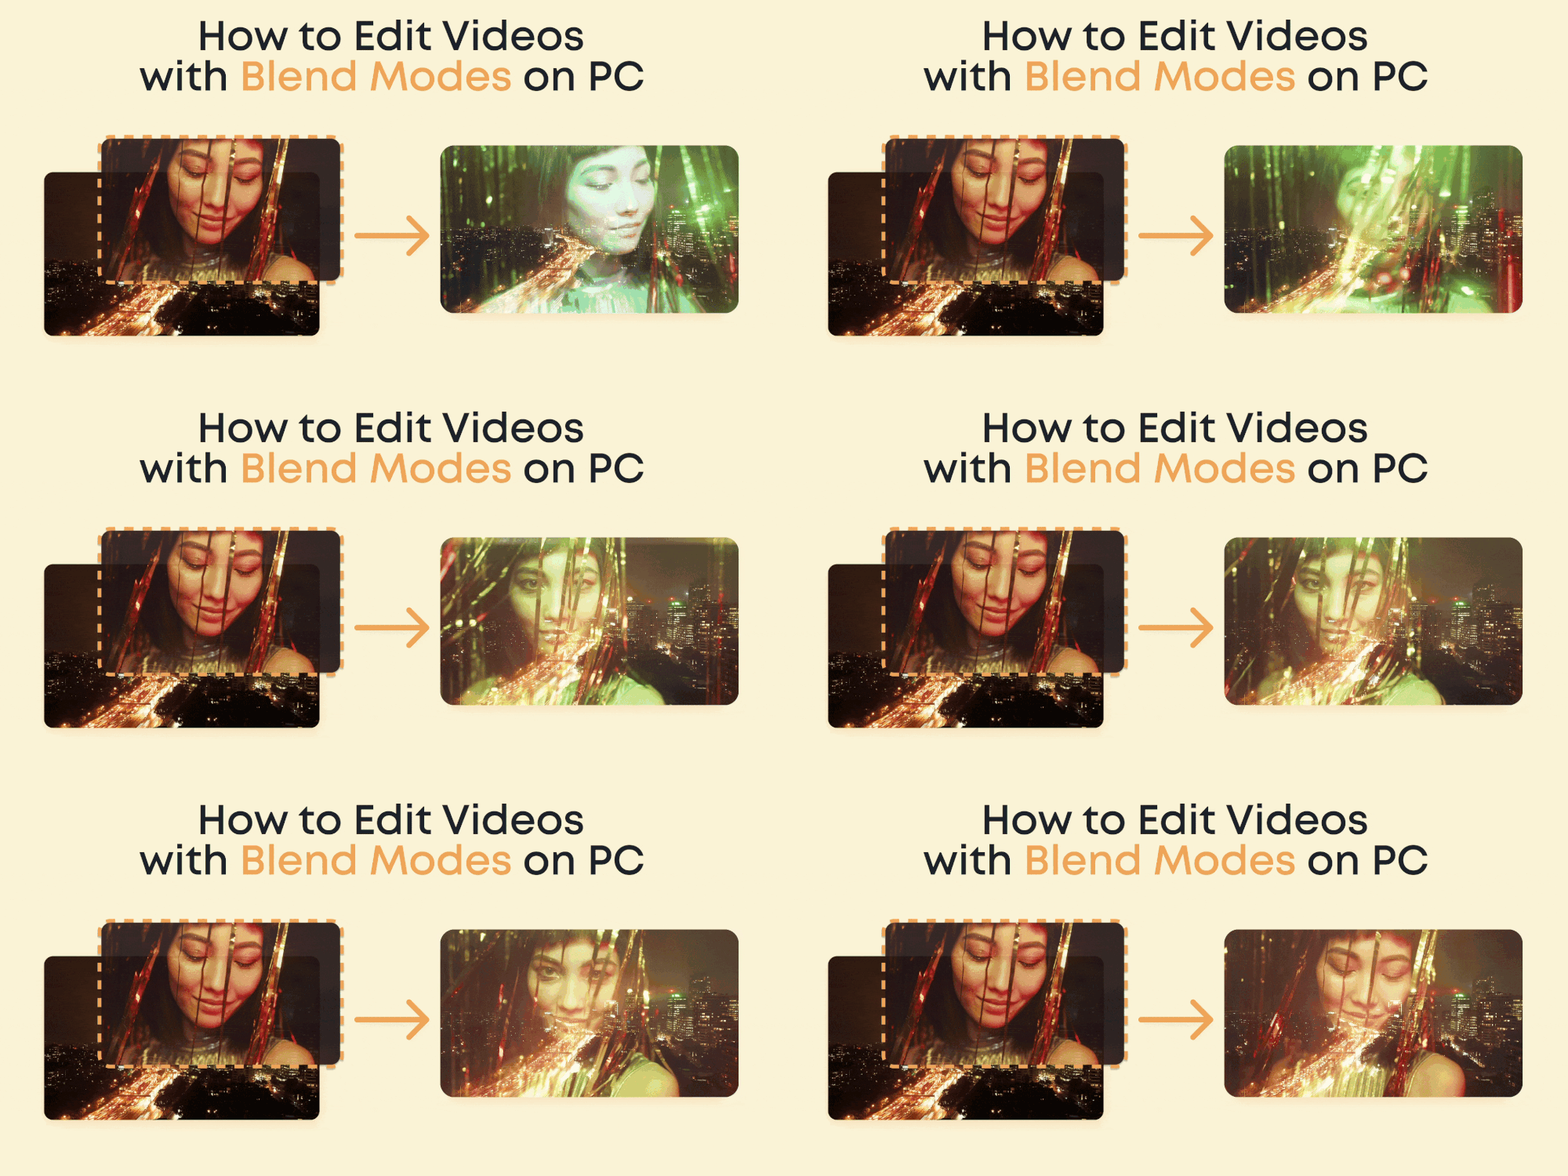
Video blending is a widely utilized technique in video editing. It involves overlaying or combining different video clips or images to create a seamless visual effect. The blend modes in a video editing tool like Animotica allow you to take ordinary clips and images and design visually stunning effects, delivering a cinematic experience to your viewers that goes far beyond traditional videos.
Think of it as merging multiple layers of visuals wherein each layer impacts the other, creating a unique, unified composition. Blending is your magic wand whether you aim for an eerily translucent ghost effect, a striking double exposure look, or want to add a custom watermark to your videos. And the best part? Mastering this technique doesn’t necessitate professional knowledge – thanks to user-friendly tools like Animotica.
Now that we’ve covered what video blending is let’s dive into the step-by-step tutorial for blending videos using Animotica. Here, we will guide you through the process and share additional insight into creative ideas and use cases to inspire you to experiment more with video blending.
A Step-By-Step Video Blending Tutorial
Now that you understand video blending, it’s time to get hands-on and create magic with your videos. Our step-by-step tutorial will guide you through the exciting process of blending videos in Animotica. No previous experience or technical skills are required, just your creativity and the willingness to experiment. So, let’s dive right in and blend our artistic ideas into reality!
Step 1: Launch Animotica and Create a New Project
Animotica’s user-friendly interface greets you right from the start. To begin your video blending journey, simply hit the ‘+ New Project’ button at the center of the welcome screen.

An open, empty workspace awaits you. This new project is a blank canvas, ready for you to add your awe-inspiring video clips.
Step 2: Upload Your Video Clips
Moving on to the next step of your Animotica blending video tutorial journey, you need to add your video clips. Animotica’s user-friendly interface makes this process simple.
- Begin by clicking the well-positioned ‘Add Video/Photo Clips’ button at the bottom edge of your project window, which will prompt a pop-up window.

- From here, locate your intended video clips on your computer. To select multiple clips simultaneously, you can press and hold down the Control key (Ctrl) on your keypad while you mark your selected clips.
- Once you’ve picked your clips, hit the ‘Open’ button. Your clips will subsequently show up on your project timeline, ready for you to animate with your creative touch.

Think of your timeline as the heart of your project. Here, you can rearrange your clips, switch up their sequence, and amplify your brand personality, for instance, by embedding your logo overlay.
Pro Tip: To expedite your editing process, gather all your desired video clips in a single, easily accessible folder prior to kicking off your project. This will streamline the clip-importing operation.
Congratulations! You’ve mastered uploading your video clips to Animotica.
Next, let’s elevate your video blending tutorial by incorporating your video or photo overlay, creating a unique video.
Step 3: Add Video/Photo Overlays of Your Logo
After successfully uploading your video clips, the next essential action is incorporating your organization’s logo. This involves attaching a photo overlay of your logo to your video, a task made easy with our video editor tool.
- On the editing interface, direct your attention towards the right sidebar, spotting an ‘Add’ button. Hover to see the dropdown menu and then click on ‘Overlay.’ When you do so, a set of options will pop up. Select ‘Photo or video’ to select an image or video from your stored files.

- Go to the location where you saved your photo or video overlay, click on it, and then click ‘Open.’

Step 4: Adjust the Size and Placement
Now, it’s time to adjust your overlay size so it fits your video well. Luckily, making changes with Animotica is quick and straightforward. Let’s continue our video blending tutorial.

If you want your overlay to look its best before blending videos, you may need to resize it. Achieving this with Animotica is a breeze. Just click on your overlay in the video preview. A box will appear around your overlay, with handles you can move to resize. Keep tweaking until your overlay is the ideal size.
Step 5: Choose Preferable Blending Mode
Your fifth step towards optimal video blending with Animotica entails selecting your ideal blending mode for your overlay. To achieve this, kindly follow the set of concise instructions delineated below:
- Navigate towards the ‘Overlay’ section, which is conveniently located within the main editing console of Animotica. Once there, go ahead and select your overlay. With the overlay selected, hunt for the ‘Blending’ section. This section provides various options to finesse your video’s aesthetic appeal.

- Finally, deliberate upon and choose your preferred blending mode for the overlay. Remember, this choice will significantly influence your final video output.

By following these helpful instructions, you can create a unique blend and enhance your videos to match your ideal vision.
Step 6: Export Your Video
After you’ve artfully applied Animotica’s easy-to-use blending modes to your videos, you’re set to share your masterpiece with the rest of the world. But first, you must save it to your computer. Here’s to how to get that done:
- Select ‘Export Video,’ located at the bottom right of the screen. You’ll see an array of options.

- Choose the ideal quality and format. Animotica offers a variety of choices, including HD, Full HD, and even 4k. It also supports the most regularly used formats, like .mp4. Make sure you select what best meets your needs.

- Tap ‘Save As’ to decide where to save your file.
Animotica then brings your vision to life, saving your excellently blended video. The duration depends on the quality and size of your video. However, you can rest assured that you’ll get a refined, creatively blended video ready to captivate your audience.
Bear in mind that video file quality and formats are crucial to the end product. This makes selecting the proper settings that match your needs crucial. For instance, to generate high-quality YouTube content, go for the maximum resolution available. If you’re concerned about storage space or upload speed, lower the video quality slightly.
How To Use Blending Modes in a Video [Video Tutorial]
Ready to explore video blending with Animotica? We’re here to help! This section includes a detailed video tutorial, ideal for those who prefer visual instructions. It’s tailored to make learning enjoyable and the process of blending videos straightforward. So, prepare your materials and look forward to diving into video editing.
5 Key Tips for Successful Video Blending
Video blending with Animotica is an art as much as a tool, empowering you to play with the visual dynamics of your video content. However, the magic lies in understanding how to utilize this feature to its full potential. Below are a couple of helpful tips you can apply to your video blending projects.
Experiment with Different Blending Modes
Animotica offers multiple blending options. So, don’t hold yourself back to just one. Experiment with each of them to understand what works best for your brand’s content. This experimentation is a fantastic way to evolve your content creation skills and realize the full potential of this amazing video editing tool.
Optimize Your Media Before Uploading
Before blending, ensure your media—videos and images—are optimized for editing. Trim your videos to the appropriate length, adjust the video resolutions, balance the color saturation, and optimize the overall quality. An optimized video makes the blending process smoother and the final output more professional.
Utilize Contrast to Your Advantage
The magic of video blending often lies in contrasting the overlay and the base video. Light overlays on dark videos or vice versa can result in visually stunning effects. Experiment with color contrasts to maximize the impact of your blends.
Think of the Bigger Picture
When you’re blending videos, think beyond the individual clips. Consider how your blends fit into the larger narrative of your video or brand. A well-designed blend should enhance and inform your viewer’s understanding, not distract from it.
Iterate, Iterate, Iterate
Perfection in video blending comes from trial and error. It’s about iterating based on the feedback you receive, the insights you gather, and the creative inspiration you discover. Don’t be afraid to make mistakes and learn from them. Each iteration brings you one step closer to mastery.
In conclusion, video blending is about exploring the uncharted territories of your creative potential—and Animotica is there to support you in every step. So don’t wait, dive into your next video project today!
Finishing Up
That’s a wrap on your guide to blending videos with Animotica! You’ve done an excellent job navigating each step, from launching a new project to exporting your final video. Pat yourself on the back! With these steps under your belt, you’re well on your way to becoming an Animotica power user.
But remember, mastering any skill takes time and practice. Explore different blending modes, adjust sizes and placements, and continue experimenting. The more you practice, the smoother your workflow will become. So, feel free to return to this tutorial as often as you need. It’s here to serve as your step-by-step guide in your video editing journey.
This blend video tutorial is just the beginning. Animotica is a versatile tool with countless potential uses. Unleash your creativity and explore its other features. There’s much more to discover, from simple cuts and transitions to complex overlays and effects.


