Do you want to create memorable slideshows for free on your Windows computer? You’re in the right place! Animotica, a user-friendly and feature-rich video editing software, makes it easy for anyone—even beginners—to craft stunning slideshows. Whether you’re assembling photos from a recent trip, creating a presentation for work, or making a heartfelt video montage, Animotica offers all the tools you need without costing a dime.
Animotica’s intuitive interface and powerful features make it the perfect choice for creating professional-quality slideshows on Windows.
In this guide, we’ll walk you through each step, from downloading and installing Animotica to exporting your finished slideshow. By the end, you’ll have a polished, professional slideshow ready to share. So, let’s dive in and unlock your creative potential!
Contents
What is the best free slideshow maker for Windows?
When it comes to making great slideshows on Windows, Animotica is a top choice. It has lots of features and is easy to use, making it perfect for beginners and experienced users.
Why Choose Animotica?
- Free and Accessible: Animotica is free to use, so you can create amazing slideshows without spending any money.
- User-Friendly Interface: The drag-and-drop interface is simple to use, so you don’t need to be a tech expert. You can focus more on your creativity.
- Versatile Editing Tools: Animotica offers many tools, like transitions, text effects, animations, and audio integration. It’s great for both personal and professional projects.
- Seamless Media Import: Importing photos, videos, and music is easy. Animotica supports many file formats, so your media will work smoothly together.
Ready to start your slideshow? Download Animotica and follow our step-by-step guide for a smooth and enjoyable experience with Animotica.

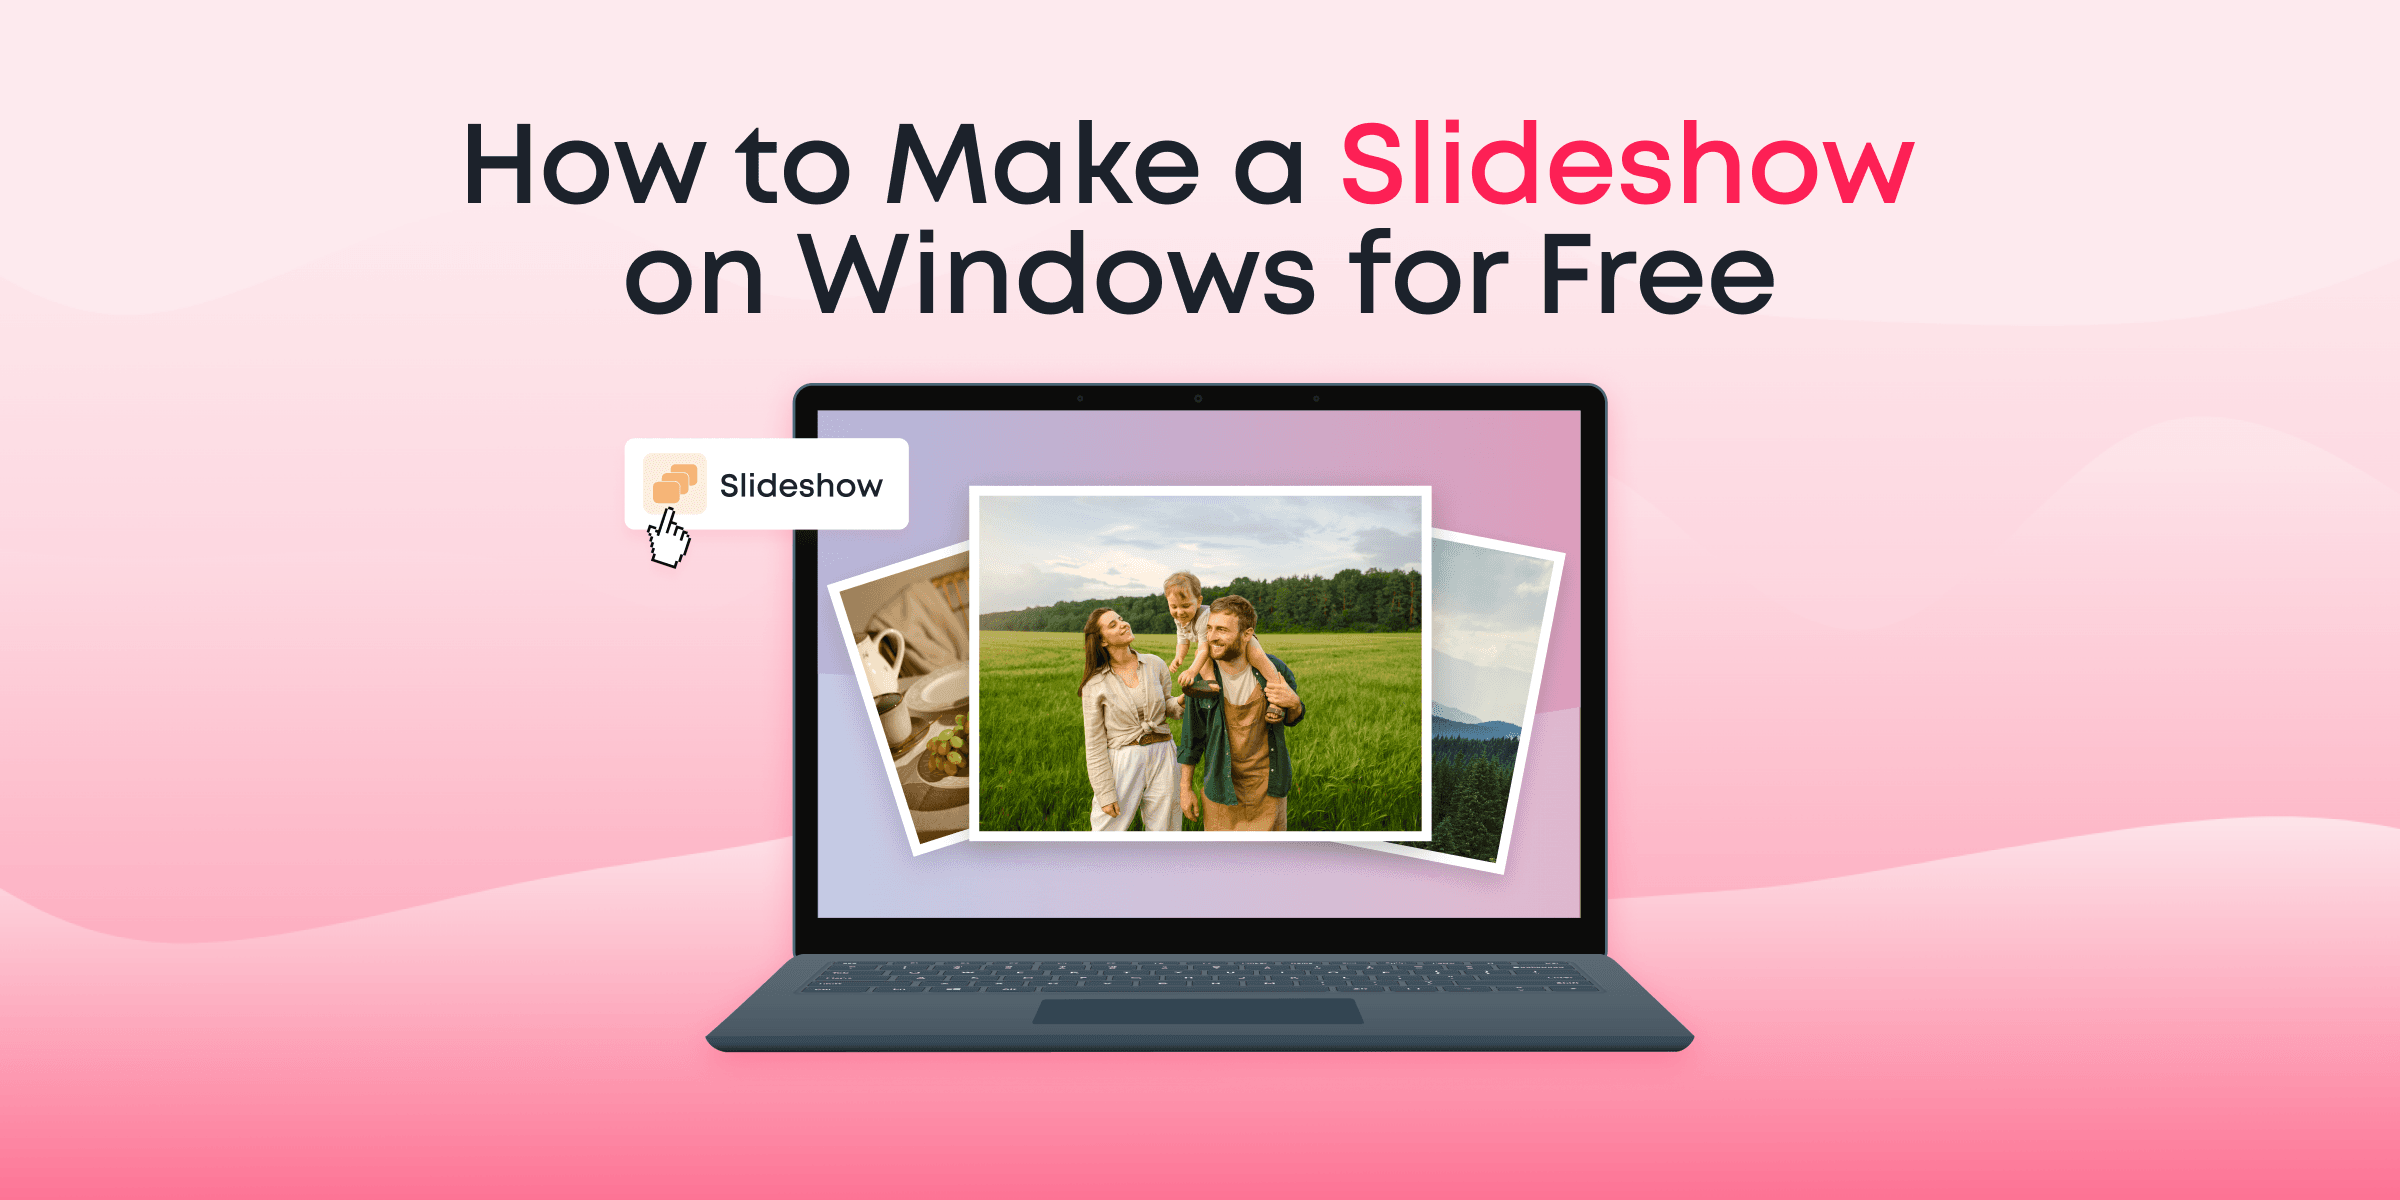
How to Make a Slideshow on Windows for Free in 10 Easy Steps
Creating a captivating slideshow doesn’t have to cost a dime or be a complex process. With Animotica, a free and intuitive video editor for Windows, you can transform your photos and videos into a polished slideshow in just a few easy steps. Whether you’re commemorating a special occasion or putting together a professional presentation, this guide will walk you through the essentials to achieve a flawless result.
Launch Animotica and Create a Slideshow
Launch Animotica — this is your starting point. Then, when you click on Slideshow, a new window will open where you can upload your photos. Simply click on Slideshow to get started.

Import Your Media Files
Click on the Add Photo button to navigate to your storage area. Ensure you already have your pictures stored at a particular storage location. Select the images you’d like to include in the slideshow and hit Open.

This returns you to your “Add Photo” window, and you should see your selected pictures now included.

Once you’re done, hit Next for the next phase.
Add Background Music
To add background music, simply click on the Add Music button to choose from your downloaded tracks.

Animotica also offers a selection of great royalty-free musical clips! Feel free to check our blog post on the best royalty-free audio and websites.

After you’ve selected your music, click Next.
Choose Transitions
After setting the background and photo fill, you can explore transition effects to add a dynamic touch as your pictures move from slide to slide. Take a moment to preview the available transitions and select the one that best fits your theme. Once you’re satisfied, click the Next button to proceed to the preview page. Here, you can see your slideshow in action.

Plus, you have the flexibility to choose a unique transition for each photo during the editing phase. To do so, you need to:
- Click the Transition icon between photos when editing a project.

- Choose a transition you like and set a specific duration for each photo.

Select Aspect Ratio
This window allows you to define your slideshow’s aspect ratio based on the platform you’re planning to upload it to. There are several options ranging from YouTube to classic TV, and you can select your choice by just clicking on it. It’s usually best to leave it at its default setting.

Also, you can also set the slide duration for the entire slideshow. You can specify how long each slide will appear on screen, giving you control over the pacing of your presentation. Adjust the time to your preference and ensure that it highlights the most important points. Once you’re satisfied with the slide durations and aspect ratio, click Next to proceed.
To adjust the duration of each slide, simply select the photo in the timeline, look for the duration setting, and input your desired time. You can fine-tune each slide to match the mood and rhythm of your presentation.
- Select the photo: Click on the photo you want to adjust in the timeline and click the Duration button.

- Adjust the duration: Find the duration option and input the time you want each photo to appear.

- Preview changes: Always preview the slideshow to ensure the transitions and timings are smooth.
This customizable duration feature ensures that each moment in your slideshow gets the attention it deserves, making your presentation more compelling.
Set a Background and Photo Fill
Animotica provides a bunch of great options for your slideshow’s background:
- Blur Background: Adds a blurred effect to the background of your slideshow.
- Color Background: Allows you to choose a solid color for your background.
- Photo Fill: Determines how your photos are displayed on the screen. It’s recommended to use “fit” for the best results.
To change the background and photo fill:
- Click on a photo and look for the Fit/Fill button.

- Use this button to either fill the background with a color or blur or fit the photo to the aspect ratio.
- To change the background, click the Background button.

Once you’ve set the background and photo fill, it’s time to bring your slideshow to life with some engaging motion effects.
Apply Motion Effects
Click on the photo on the timeline, then click the Motion button. This feature lets you add movement to your slides, making them more engaging. Here’s how to add and customize motion effects:
- Click the Motion button to see various options.

- Choose your favorite motion effect, such as pan, zoom, or rotate.

- Experiment with different effects to find the best fit for your slideshow. These effects add flair and grab your audience’s attention, giving your presentation a professional touch.
If you want more control over the motion effects, Animotica offers customization options by clicking “Show advanced settings”:

- Adjust the speed and direction of the movement.
- Preview the effect in real time to see how it looks.
- Apply the effect if you’re satisfied with the preview.
Remember to keep a consistent style throughout your slideshow for a more cohesive appearance. Once done, move on to the next slide and repeat the process. This way, your slideshow will perfectly match the mood and theme of your project.
Let’s dive deeper into how you can personalize your slideshow with various effects and overlays to make it truly stand out.
Add Overlays
To add overlays, click on the + button and choose the appropriate overlay option from the Overlay menu. You can add a variety of overlays to enhance your slideshow:

- GIF Overlays
- Text Overlays
- Stickers
- Photo/Video Overlays (available in the Full Pro version)
By utilizing these options, you can make your slideshow more engaging and visually appealing.

Once you’ve added overlays, the next step is to apply effects to elevate the visual appeal of your slideshow further.
Apply Effects
To enhance your slideshow with effects, click on the Effects button found on the main toolbar.

You can choose an effect to apply to the entire slideshow, and you’ll find a variety of options such as glitch effects, Old TV effects, and more to make your slideshow unique and eye-catching.

If you wish to apply different effects to individual photos, click on each photo separately, then click the Effects button and choose your preferred effect for each photo.

You can also enhance your photos by adding 3D LUTs in Animotica. This feature allows you to apply cinematic color grading to your images, making your slideshow more visually appealing. Check out our guide on how to use 3D LUTs.
If you’re pleased with your edits and the effects you’ve applied, it’s time to move on to the last step.
Export Your Slideshow
Once you’ve completed your slideshow in Animotica, it’s important to save your work correctly. Here’s how:
- Click the Export button located at the bottom right of your screen. This will bring up a few options for you to choose from.

- Select the format and quality you need. Animotica supports a variety of formats, including .mp4, and resolutions ranging from standard to HD, Full HD, and even 4K. Choose the one that best suits your needs.

- Click Save As and decide where you want to save your slideshow on your computer.
Also, check out our blog post on the best export settings for YouTube for more insight.
After following these steps, Animotica will start exporting your slideshow. Depending on the size and quality of your project, this process might take some time. Once done, you’ll have a polished slideshow ready to share or upload.
10 Tips for Making an Amazing Slideshow
Creating an engaging slideshow involves more than just putting a bunch of photos together. Below are ten tips to help you elevate your slideshow and make it truly amazing:
- Plan Your Story: Before diving into the software, have a clear idea of the story you want to tell. Create an outline to structure the slideshow logically.
- High-Quality Images: Use high-resolution photos to keep your slideshow looking sharp and professional. Blurry or pixelated images can detract from the overall quality.
- Consistent Style: Maintain a consistent style throughout your slideshow. Use the same fonts, color schemes, and transitions to create a cohesive visual narrative.
- Limit Text: Text should complement, not overwhelm, your images. Keep captions short and to the point. If you need to elaborate, consider adding a voiceover.
- Use Effects Sparingly: While Animotica offers a wide range of effects, it’s best to use them sparingly. Overusing effects can distract from the content and look unprofessional.
- Incorporate Music and Sound: Adding a background track can add emotional depth to your slideshow. Ensure the music complements the theme and tone of your content.
- Balance Timing: Pay attention to the duration of each slide. Give sufficient time for viewers to absorb the content but keep the pace moving to maintain interest.
- Preview and Edit: Always preview your slideshow to catch any errors or awkward transitions. Make necessary adjustments to improve the flow and overall impact.
- Use Transitions Wisely: Smooth transitions can make your slideshow more engaging. However, stick to a few types to avoid it looking chaotic.
- Get Feedback: Before finalizing, share your slideshow with a few trusted friends or colleagues. Their feedback can provide valuable insights for any last-minute tweaks.
By following these tips, you can create a professional and captivating slideshow that will impress your audience. Remember, practice makes perfect, so don’t hesitate to experiment and refine your skills as you go along.
What’s Next?
Creating a captivating slideshow on Windows doesn’t have to be a complicated or expensive endeavor. With Animotica, you have a free, user-friendly tool at your fingertips that makes the process straightforward and enjoyable. By following the steps outlined in this guide, you can easily compile your favorite photos, videos, and music into a stunning slideshow presentation.
Whether you’re preparing for a special event, creating a memory reel, or just experimenting with multimedia, Animotica provides all the features you need without the hefty price tag. Remember to explore the many transitions, effects, and customization options to truly make your slideshow stand out.
We hope this guide has empowered you to create your own slideshows with confidence. Feel free to share your creations and any tips you discover along the way. Happy slideshow making!