From random social media sketches to full-blown blockbuster Hollywood movies, the backward motion effect, achieved by reversing a video from one point to another, is an editing trick used all over the video content industry.
Not only does it give a sense of exciting drama to your videos, but it also adds a unique and visually pleasurable element that keeps your audience hooked to the very last second of your video content.
If you’ve been curious about how to reverse a video on your PC, this guide explains just how easy it is!
Contents
5 Best Software Tools for Reversing Videos
Whether you’re trying to recreate the viral Avengers reverse swimming pool videos that’s been trending on TikTok or simply trying to tell an original story, the right video editor will make reversing video clips a cakewalk for you.
The tools below have been handpicked for this section because they’re easy to use, efficient, and reliable. Let’s take a look at them!
Animotica
Easily our favorite on this list, Animotica offers a super straightforward process for reversing video clips for free, even with zero editing expertise. We’ll show you how it’s done soon enough!
The free video reverse tool exists in its Quick Tools section, where you’ll find a bunch of other free tools like the video trimmer, text embedder, screen recorder, MP3 extractor, shaky video stabilizer, and much more, which you can use without watermarks.
Alongside its Quick Tools package, Animotica comes with a video editor that you can utilize for pro-level video editing projects. The editor offers features for green screen effects, 3D LUTs, trimming, overlays, splitting, and much more. It is, however, important to note that Animotica is only available for Windows PC users.

iMovie
iMovie comes preinstalled on every new Mac PC and allows its users to perform basic video editing tasks like trimming, adding background music, splitting, and reversing, among others.
The tool is available for free, and its video reversal feature is relatively easy to use. However, it is only available for Mac PCs, and users are limited to basic video editing features.
iClooPlayer
iClooPlayer is a very simple media tool that can let you play your videos either normally or in reverse, and that’s about it! This simplicity means it’s fast and has a very low learning curve.
In addition to the reverse video feature, it includes a drawing tool for scribbling and annotating your videos.
IClooPlayer can be used for free. However, free users are limited to only 10 seconds of forward and reverse playbacks, with exported videos coming out with watermarks.
VSDC Video Editor
While VSDC is popularly known for its video editing capabilities, including features for cutting, trimming, adding special effects, and more, it also has the ability to reverse videos, which can be useful for fun video projects.
It, however, comes with a relatively steep learning curve, so a beginner might need to take some time to learn its interface and mode of operation. Also, the tool is only available on Windows PCs.
Reverse Video App
Reverse Video App focuses on doing what its name entails: reverse video clips, and that’s it! The tool offers a straightforward process for reversing video clips for free.
However, the catch with its free version is you can only reverse up to 21 seconds of video content. If you want to reverse longer videos, you’d need to sign up for a paid version.
How to Reverse a Video in Animotica
Animotica allows you to reverse a video for free on its Quick Tools window. The entire process takes less than 3 minutes and is suitable for scenarios where you’d like to reverse an entire video clip for a simple magic or trick effect like the one below.
Before you proceed, we highly recommend using Animotica’s Prepare Video tool to preformat your videos for an optimal editing process. This is also a quick process, but the outcome is always beneficial.
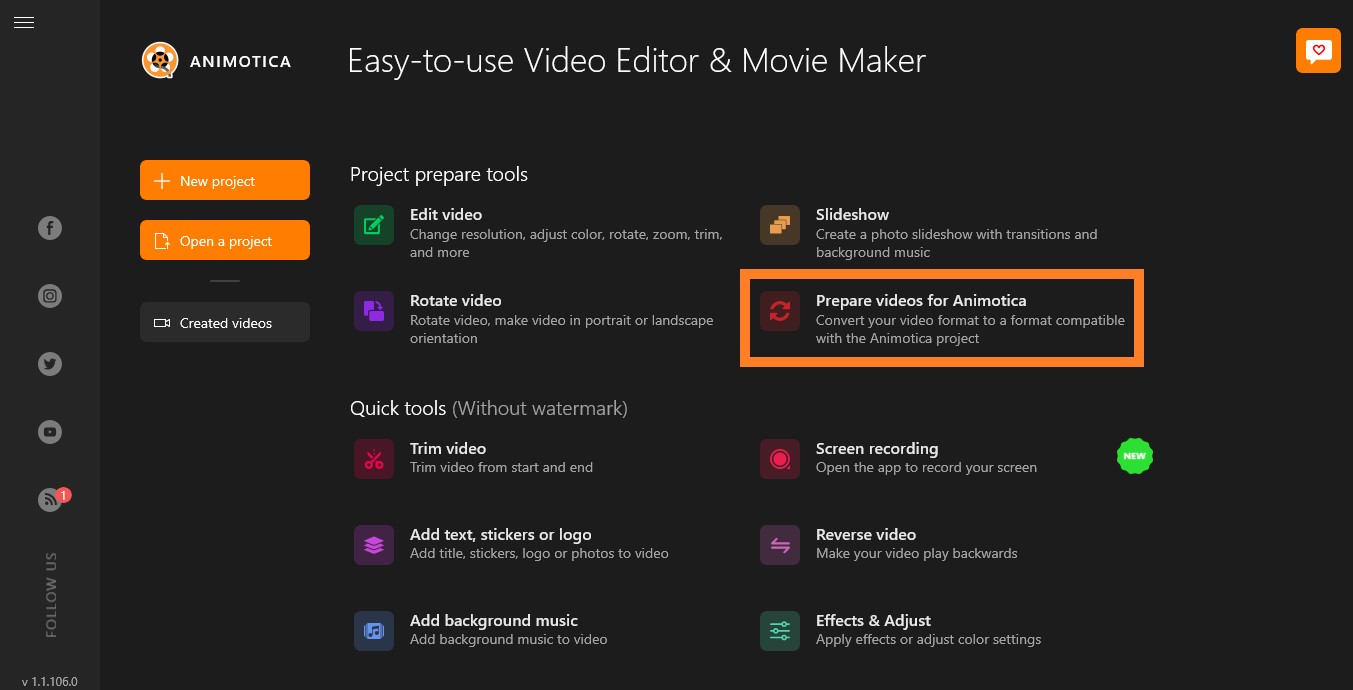
Let’s get to the steps:
- Step 1: Install Animotica from the Microsoft Store and launch it. Click the button below for faster access.
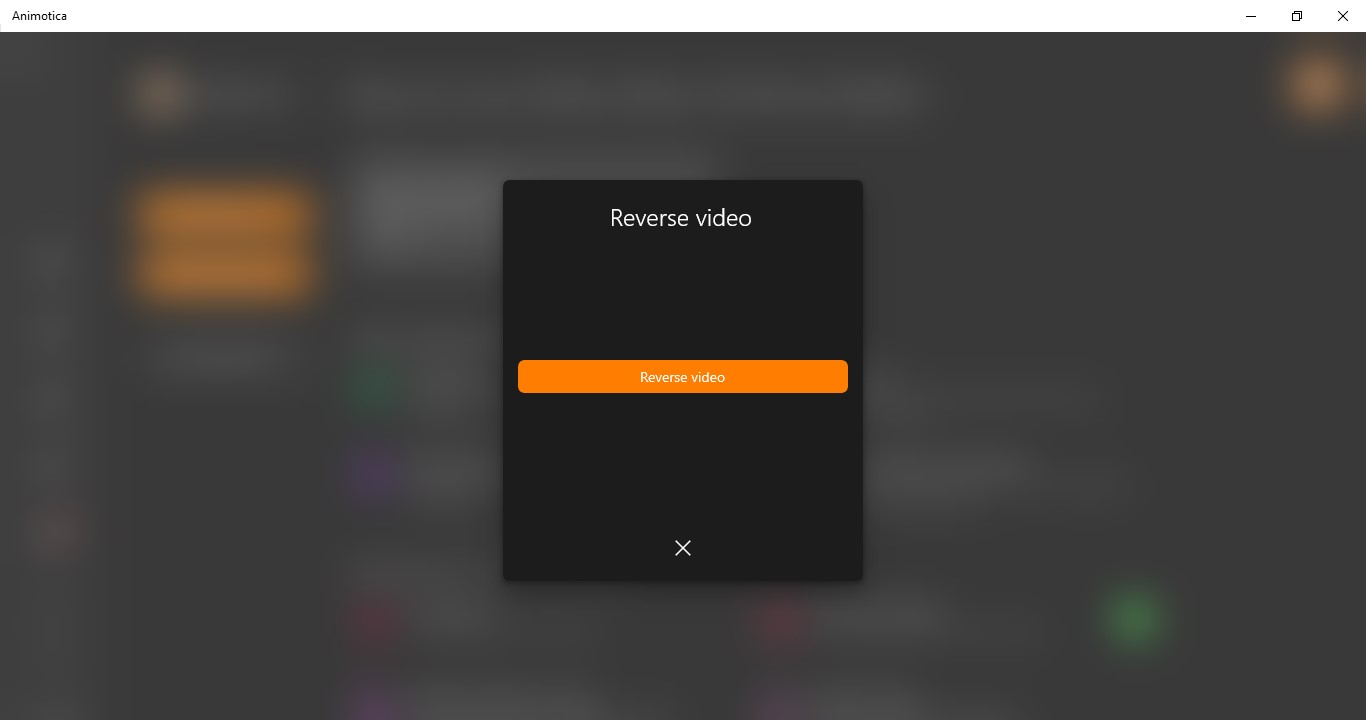
- Step 2: On the Quick Tools section, select Reverse Video
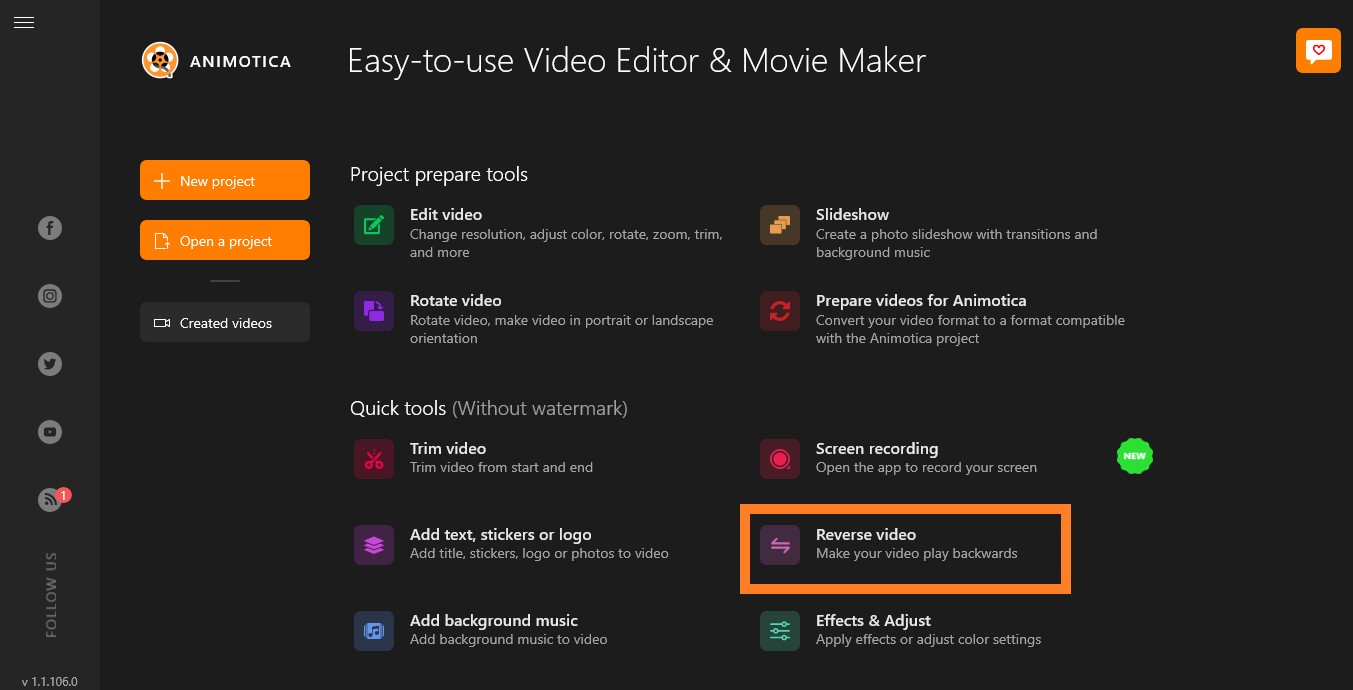
- Step 3: Upload the video you want to reverse
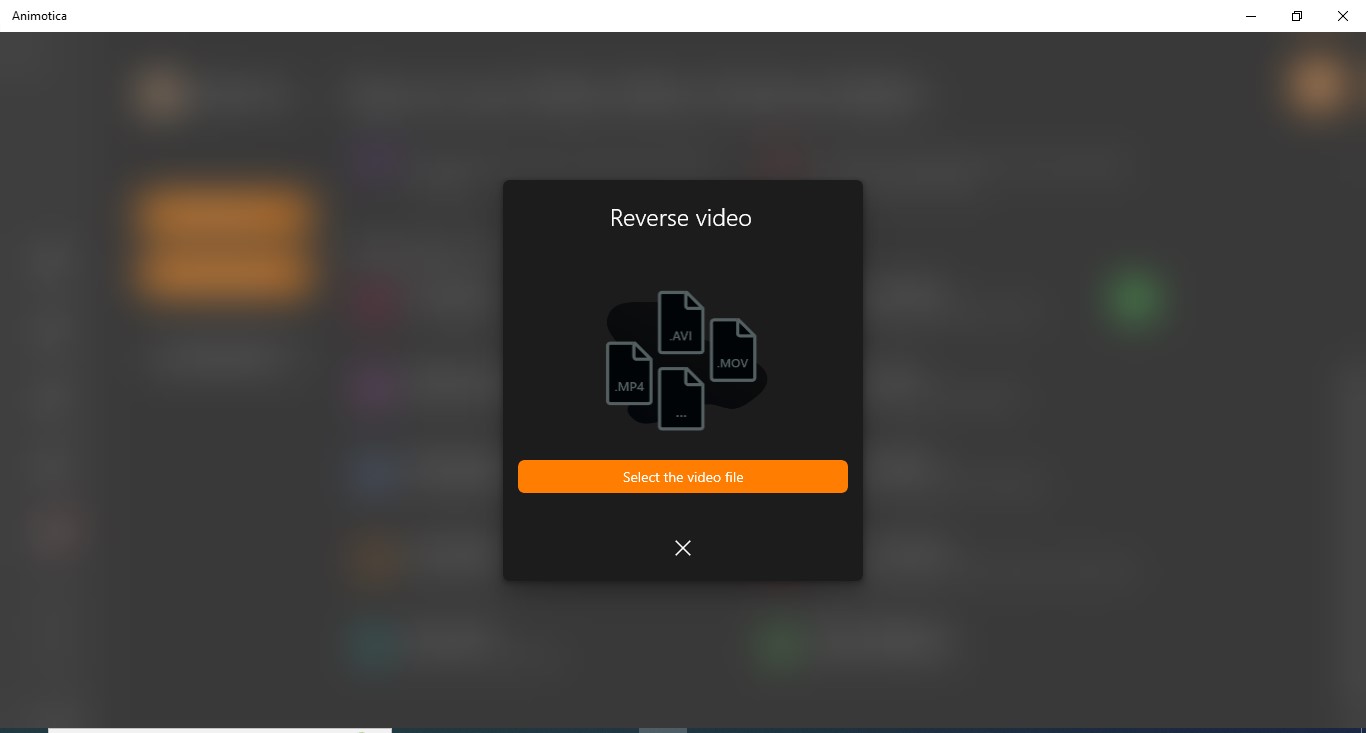
- Step 4: Click Reverse Video
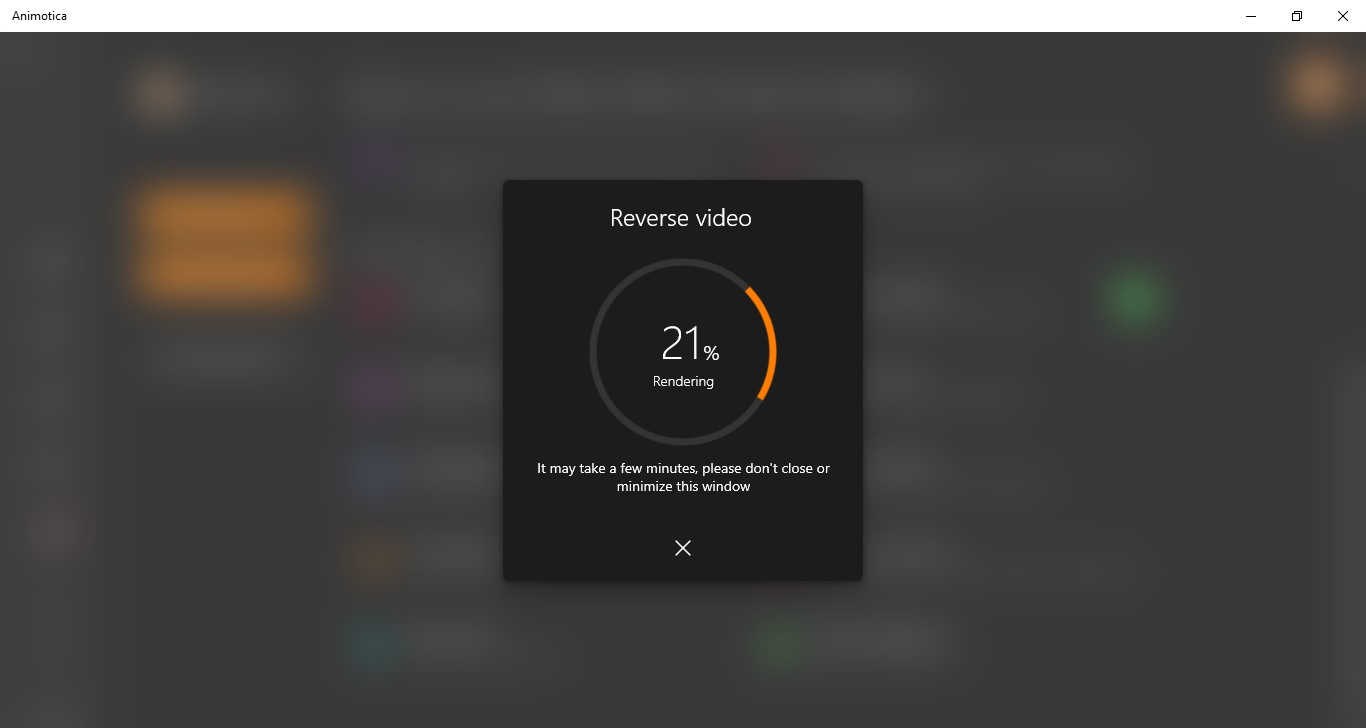
- Step 5: Set a name for your video and click Save. Afterward, sit back and let Animotica do the rest.
Pro Tips for Improving the Quality of Your Reversed Videos
Hitting the reverse button is only one piece of the puzzle. To get a well-rounded reversed video, there are a few things you need to take into consideration. In this section, we will offer some helpful tips you should implement when reversing your next video.
Let’s get into it!
Shoot Your Videos at a Higher Framerate
The standard frame rate for most videos typically runs from 24 to 60 frames per second (fps). However, when you record at a higher frame rate, such as 60, 120, or even 240 fps, your video will have a smoother and more fluid motion when reversed. This extra detail can make your reversed video look more professional and polished.
Replace the Sound
When a video is reversed, the sound is often distorted. Some video editors like Animotica typically remove the sound by default. You should use this as an opportunity to incorporate external audio to amplify your visual storytelling.
Take a look at what this group did with their Avengers parody:
Animotica allows you to add a voiceover or upload music from any royalty-free music platform of your choice. All you need to do is hit New Project after you’re done with your reversing task. In the project window, you can upload your reversed video to the timeline and add a new sound to it.
Here’s a detailed guide on how it’s done.
Experiment with Different Playback Speeds
Experimenting with different playback speeds is a creative technique that can significantly enhance the visual impact and storytelling in your reversed videos. Don’t be afraid to try various playback speeds and timings during the editing process. Some moments may benefit from subtle speed adjustments, while others may require more dramatic changes to create the desired effect.
Also, consider how the speed of the reverse motion complements your narrative or concept. Fast motion can convey urgency, excitement, or chaos, while slow motion can evoke nostalgia, introspection, or suspense. Aligning the speed with the story’s emotional arc can have a heartfelt impact on your viewers.
Aim for Seamless Looping
If your video allows it, create a seamless loop by making the end frame match the beginning frame. This can create a mesmerizing effect and encourage viewers to watch the video multiple times!
Leverage Special Effects
Special effects will make your reversed video more dramatic. Whether it is the Glitch, Quake, or Old TV effects from Animotica, special effects can take your creative projects to the next level by adding a layer of visual intrigue and storytelling depth.
That said, always be moderate about how you use them!
Wrapping up
Reversing a video is not as difficult as it sounds. All you need is a good concept and the right video reversing tool.
This guide explored a few popular tools you can use to reverse video clips and revealed how to easily do it in Animotica. So, you can stop feeling intimidated by all the cool reverse videos you’ve been seeing on social media. It isn’t as difficult as it seems!
Be sure to install Animotica for free and start making cool videos, too. Who knows? Yours might be the next viral clip!


